
Like most appliances, a washing machine generally gets set up, then stays put until one of three things happens.
- You need to send the machine in for repair, or a technician comes out and has to move the machine to access the broken bits
- It's completely shot and needs to be replaced altogether
- You're moving and taking the machine with you
If you've stumbled upon this article, the odds are that you're in the 3rd boat. Moving a washing machine can be a confusing and challenging task, so in this guide, we're going to break down the right way to get the job done.
Let's get started!
Here's What You'll Need
Before you get started on draining your washing machine for moving, you need to make sure you have everything you need.
- A large bucket or tray to capture drained water
- An appliance dolly to move the machine so you can access hoses, and get it in the moving truck
- A second person to help
Now that you know everything you need, it's time to talk about how to drain the washing machine for moving.
Step 1 - Turn Off Water
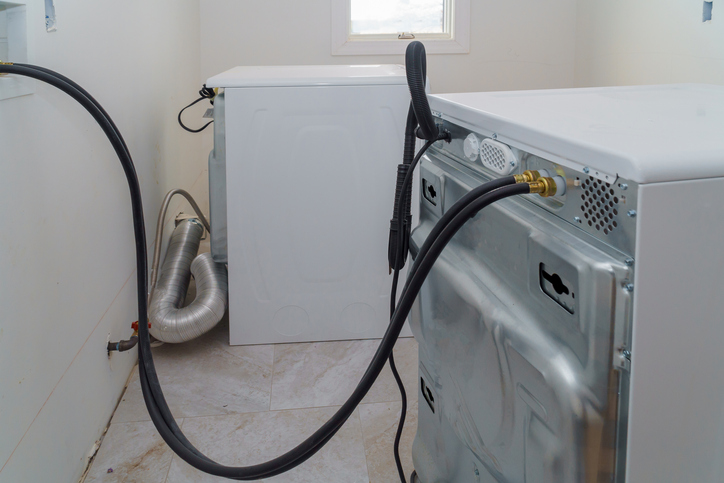
This step is critical unless you want a puddle in your laundry room. Most washing machines have valves wither behind, or near the machine which the hoses are connected to.
Find the hoses and follow them to the valves, making sure to turn off both the hot and cold water valves.
Step 2 - Drain Remaining Water
The machine will always have a little bit of water in it, even when it's not running. If you're planning on moving your washing machine, you need to drain all the water out of it.
To get the remaining water out of the washing machine, with the water valves still off, turn on the machine and turn it on a warm wash for about 30 seconds.
Once this is done, switch the dial over to some sort of spin cycle, which will help automatically drain the last bit of water.
Step 3 - Turn Off The Machine
Once the spin cycle is done, you can now turn off the machine to get it ready to remove the hoses in the next step.
Step 4 - Detach and Remove Hoses
Get your bucket ready, and detach the hoses from the machine carefully. There's going to be some leftover water in the hoses, so make sure you're ready to catch that with your bucket.
Once you've removed the hoses from the machine, disconnect them from the water valves as well.
Step 5 - Detach The Drain Hose
Once you have the main hoses removed, detached the drain hose, and again, make sure you have your bucket ready and near the hose to catch any excess water that's going to come out of the hoses.
Step 6 - Move The Machine
Once you've got everything detached, you can move the machine freely. If you're not moving right away, move the machine somewhere that makes it easy to get to come moving day. You want to get it moved out of its original location so you can clean the area and make sure there's not going to be any issues come moving day.
Step 7 - Clean the Machine
Since your washing machine has likely been stationary for a year or more, use this as an opportunity to give it a good cleaning. Clean the sides, the inside, the top, and any other areas you normally can't get to.
Clean any residue or gunk off of hose openings, inside the hoses, and around the machine with a small bottle brush.
Step 8 - Celebrate!
You've done it! The elusive task of draining and moving a washing machine has been completed!
Once the moving day comes, make sure you use your furniture dolly and take the usual precautions for moving appliances, like using rags and foam to protect it against knocks, bumps and scratches.
Also, make sure you load your washing machine first to make sure it has the best possible spot in the moving truck so it won't get damaged or fall over during the move.